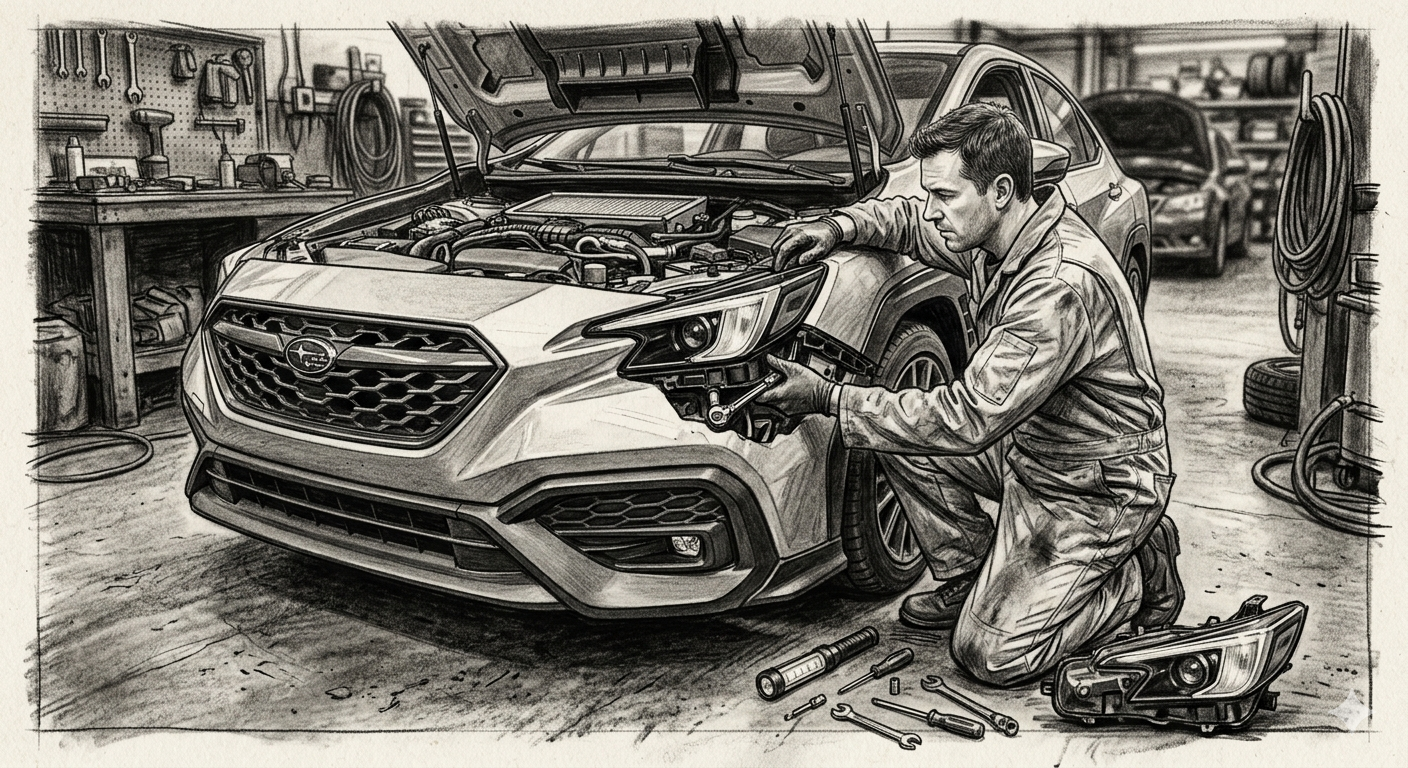
Replacing a headlight unit on a late-model car
Replacing a modern headlight unit is a more involved process than a simple bulb change, but it can be done with basic tools by following these five steps:
Access the Assembly
Modern vehicles often require you to remove or loosen the front bumper cover to reach all the mounting bolts. Begin by opening the hood and removing the plastic trim clips or bolts along the top of the grille. Depending on your car's design, you may also need to remove several screws inside the wheel well and underneath the front fascia. Carefully pull the bumper cover forward just enough to reveal the hidden headlight mounting points without straining any fog light wiring.
Disconnect Power and Hardware
Once the mounting bolts are exposed, use a socket wrench to remove the bolts securing the headlight housing to the vehicle’s frame. Before pulling the unit out completely, reach behind it to disconnect the electrical harnesses. Most modern connectors have a small plastic tab that must be squeezed or lifted to release. Ensure all wires are safely tucked aside so they don't get pinched or damaged as you slide the old assembly forward and out of the engine bay.
Transfer Components
If your new headlight unit did not come "loaded," you will need to transfer the bulbs, sockets, and ballast (for HID/LED systems) from the old housing to the new one. Inspect the rubber seals and gaskets on the old components for any signs of cracking or wear, as these prevent moisture from entering the new unit. Carefully twist and pull each bulb socket to move it over, being extremely careful not to touch the glass of any halogen bulbs with your bare fingers, as skin oils can cause them to fail prematurely.
Install and Align
Slide the new headlight assembly into position, ensuring it aligns perfectly with the body lines of the fender and hood. Reconnect the electrical harnesses first, then hand-tighten the mounting bolts to hold the unit in place. Before fully tightening everything and reinstalling the bumper, turn on the vehicle's lights to test all functions, including the high beams, low beams, and turn signals. This prevents the frustration of having to disassemble the car again if a connection is loose.
Final Adjustments
With the unit securely bolted and the bumper reattached, the final step is to check the beam alignment. Park the car on a level surface approximately 25 feet away from a flat wall or garage door. Locate the vertical and horizontal adjustment screws on the back of the headlight housing. Use a screwdriver to turn these screws until the most intense part of the light beam sits just below the level of the headlight's center point on the wall, ensuring the beams do not blind oncoming drivers.